
Managing Inventory Items
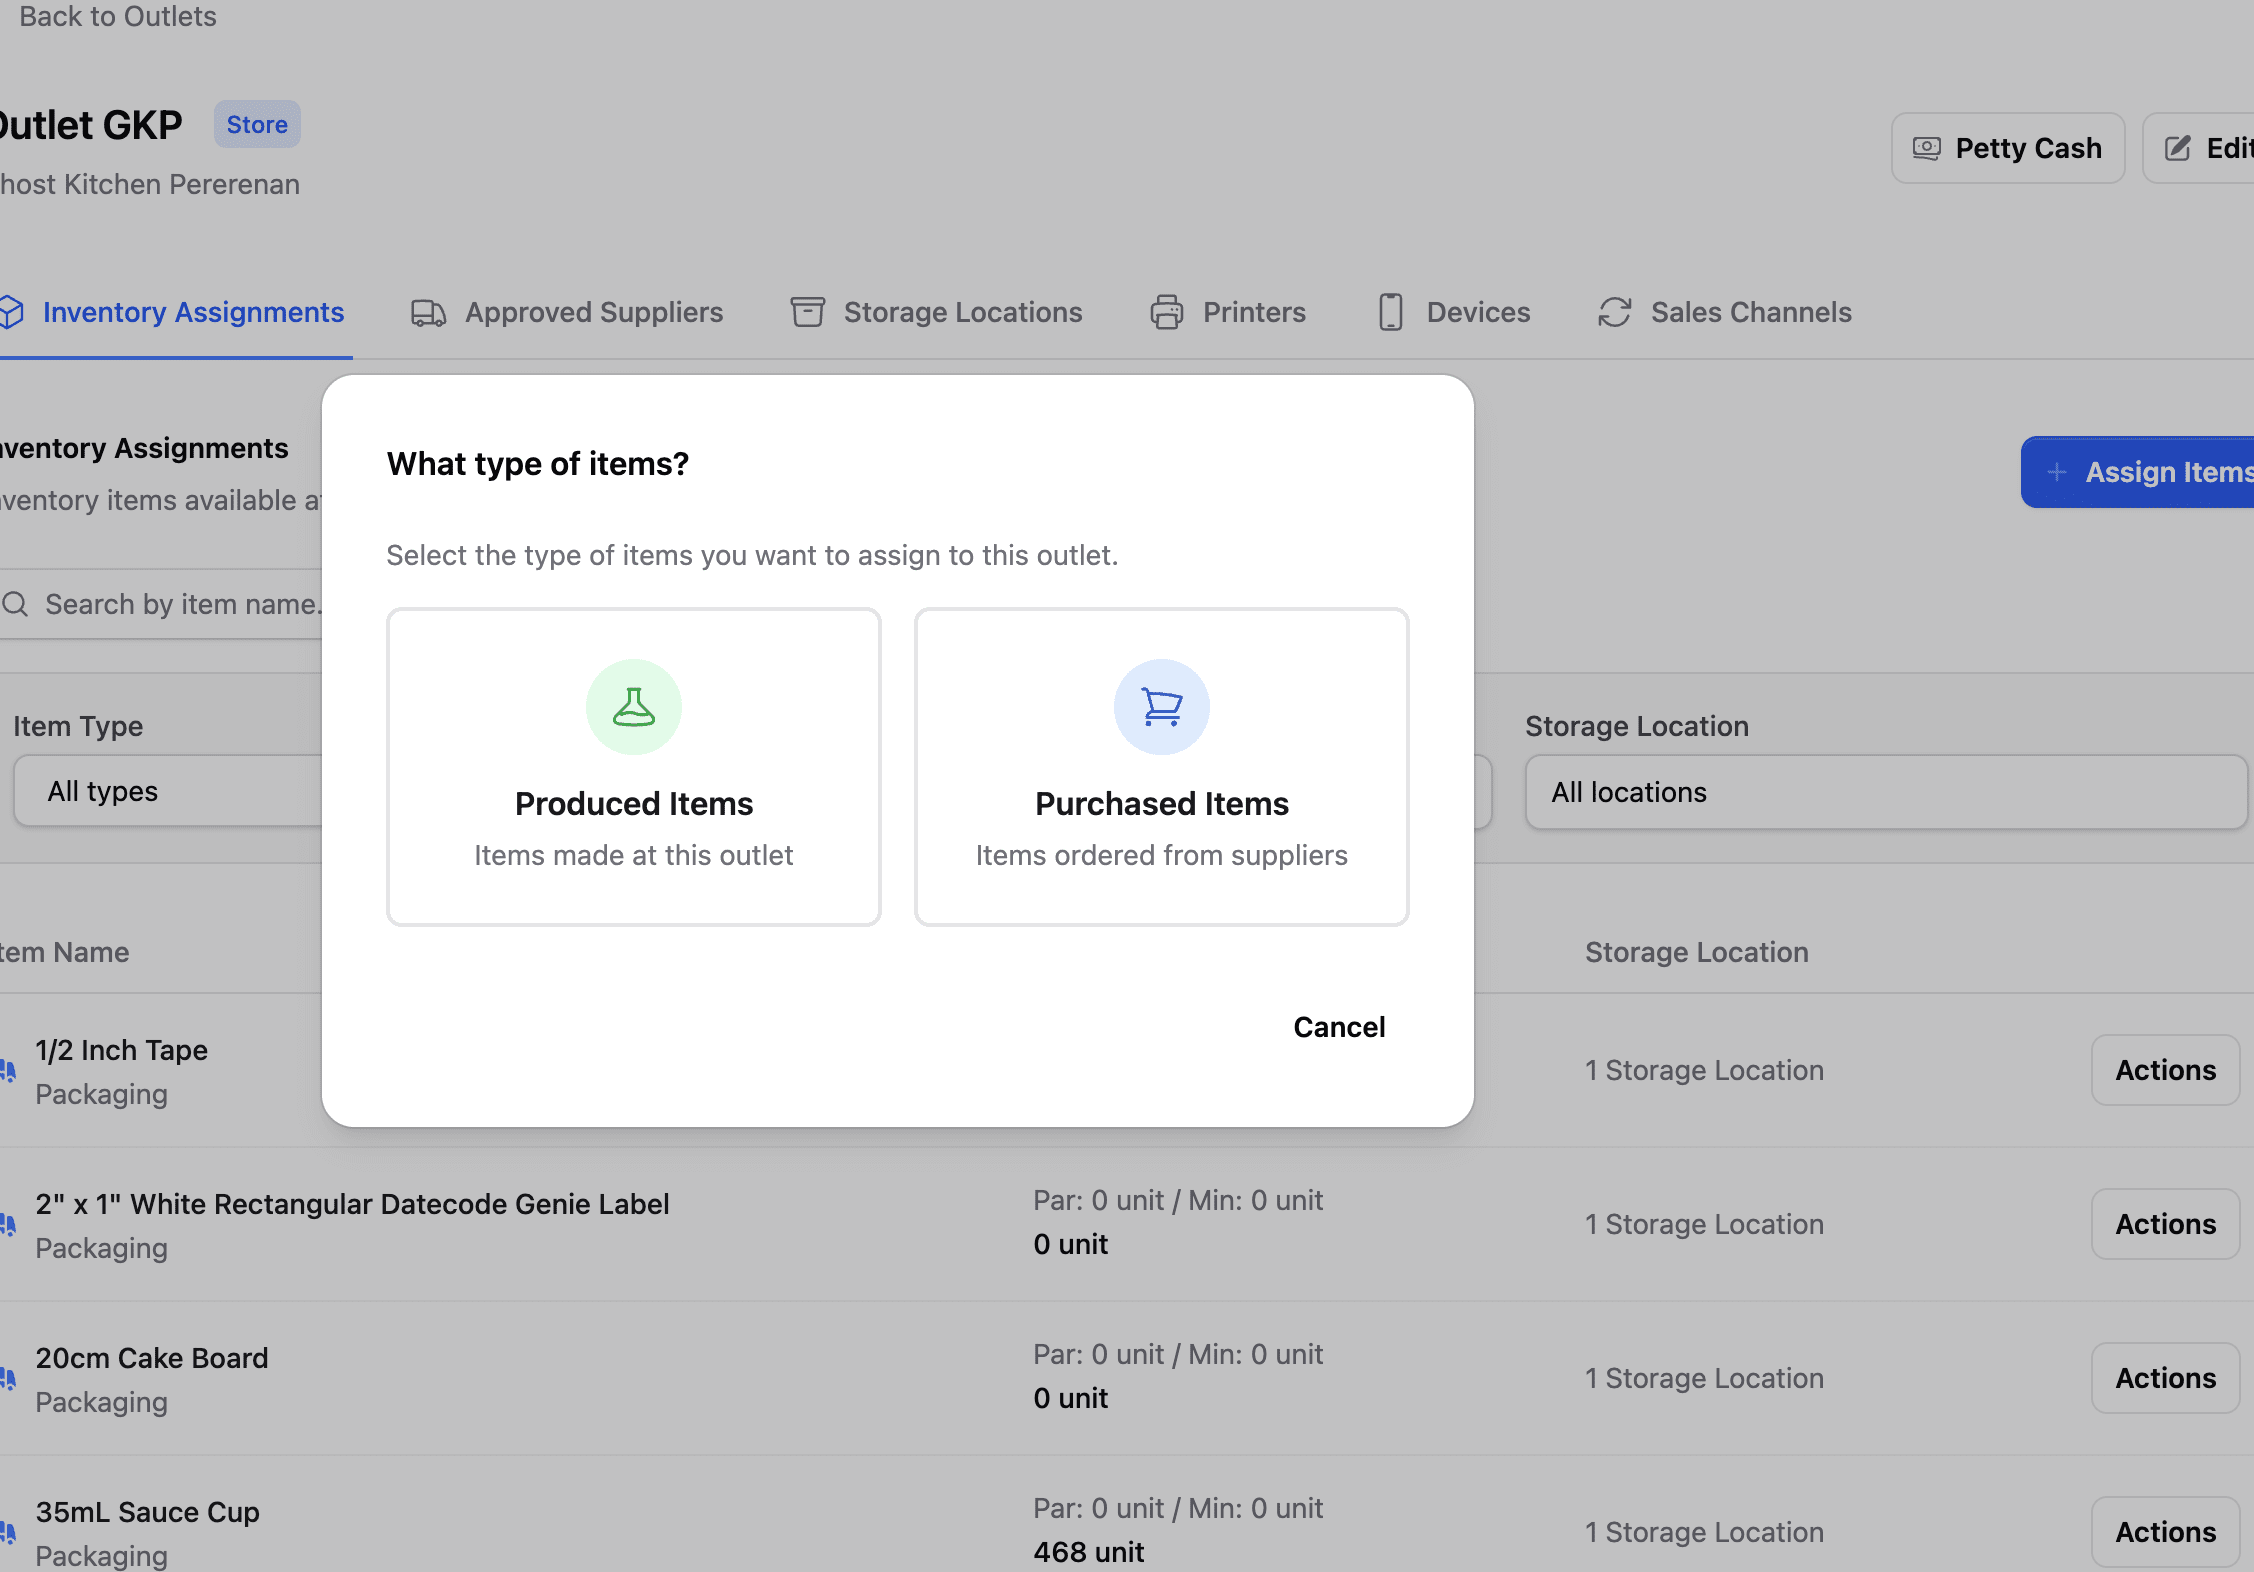
Your outlet has a list of inventory items assigned to it. Before your first stock count, you need to review this list and make sure it's accurate.
Review Your Items
Step 1: Open Inventory Assignments
Open the Butter Backoffice Outlets page. Click your outlet from the list, and then select the Inventory Assignments tab.
Step 2: Understand What You See
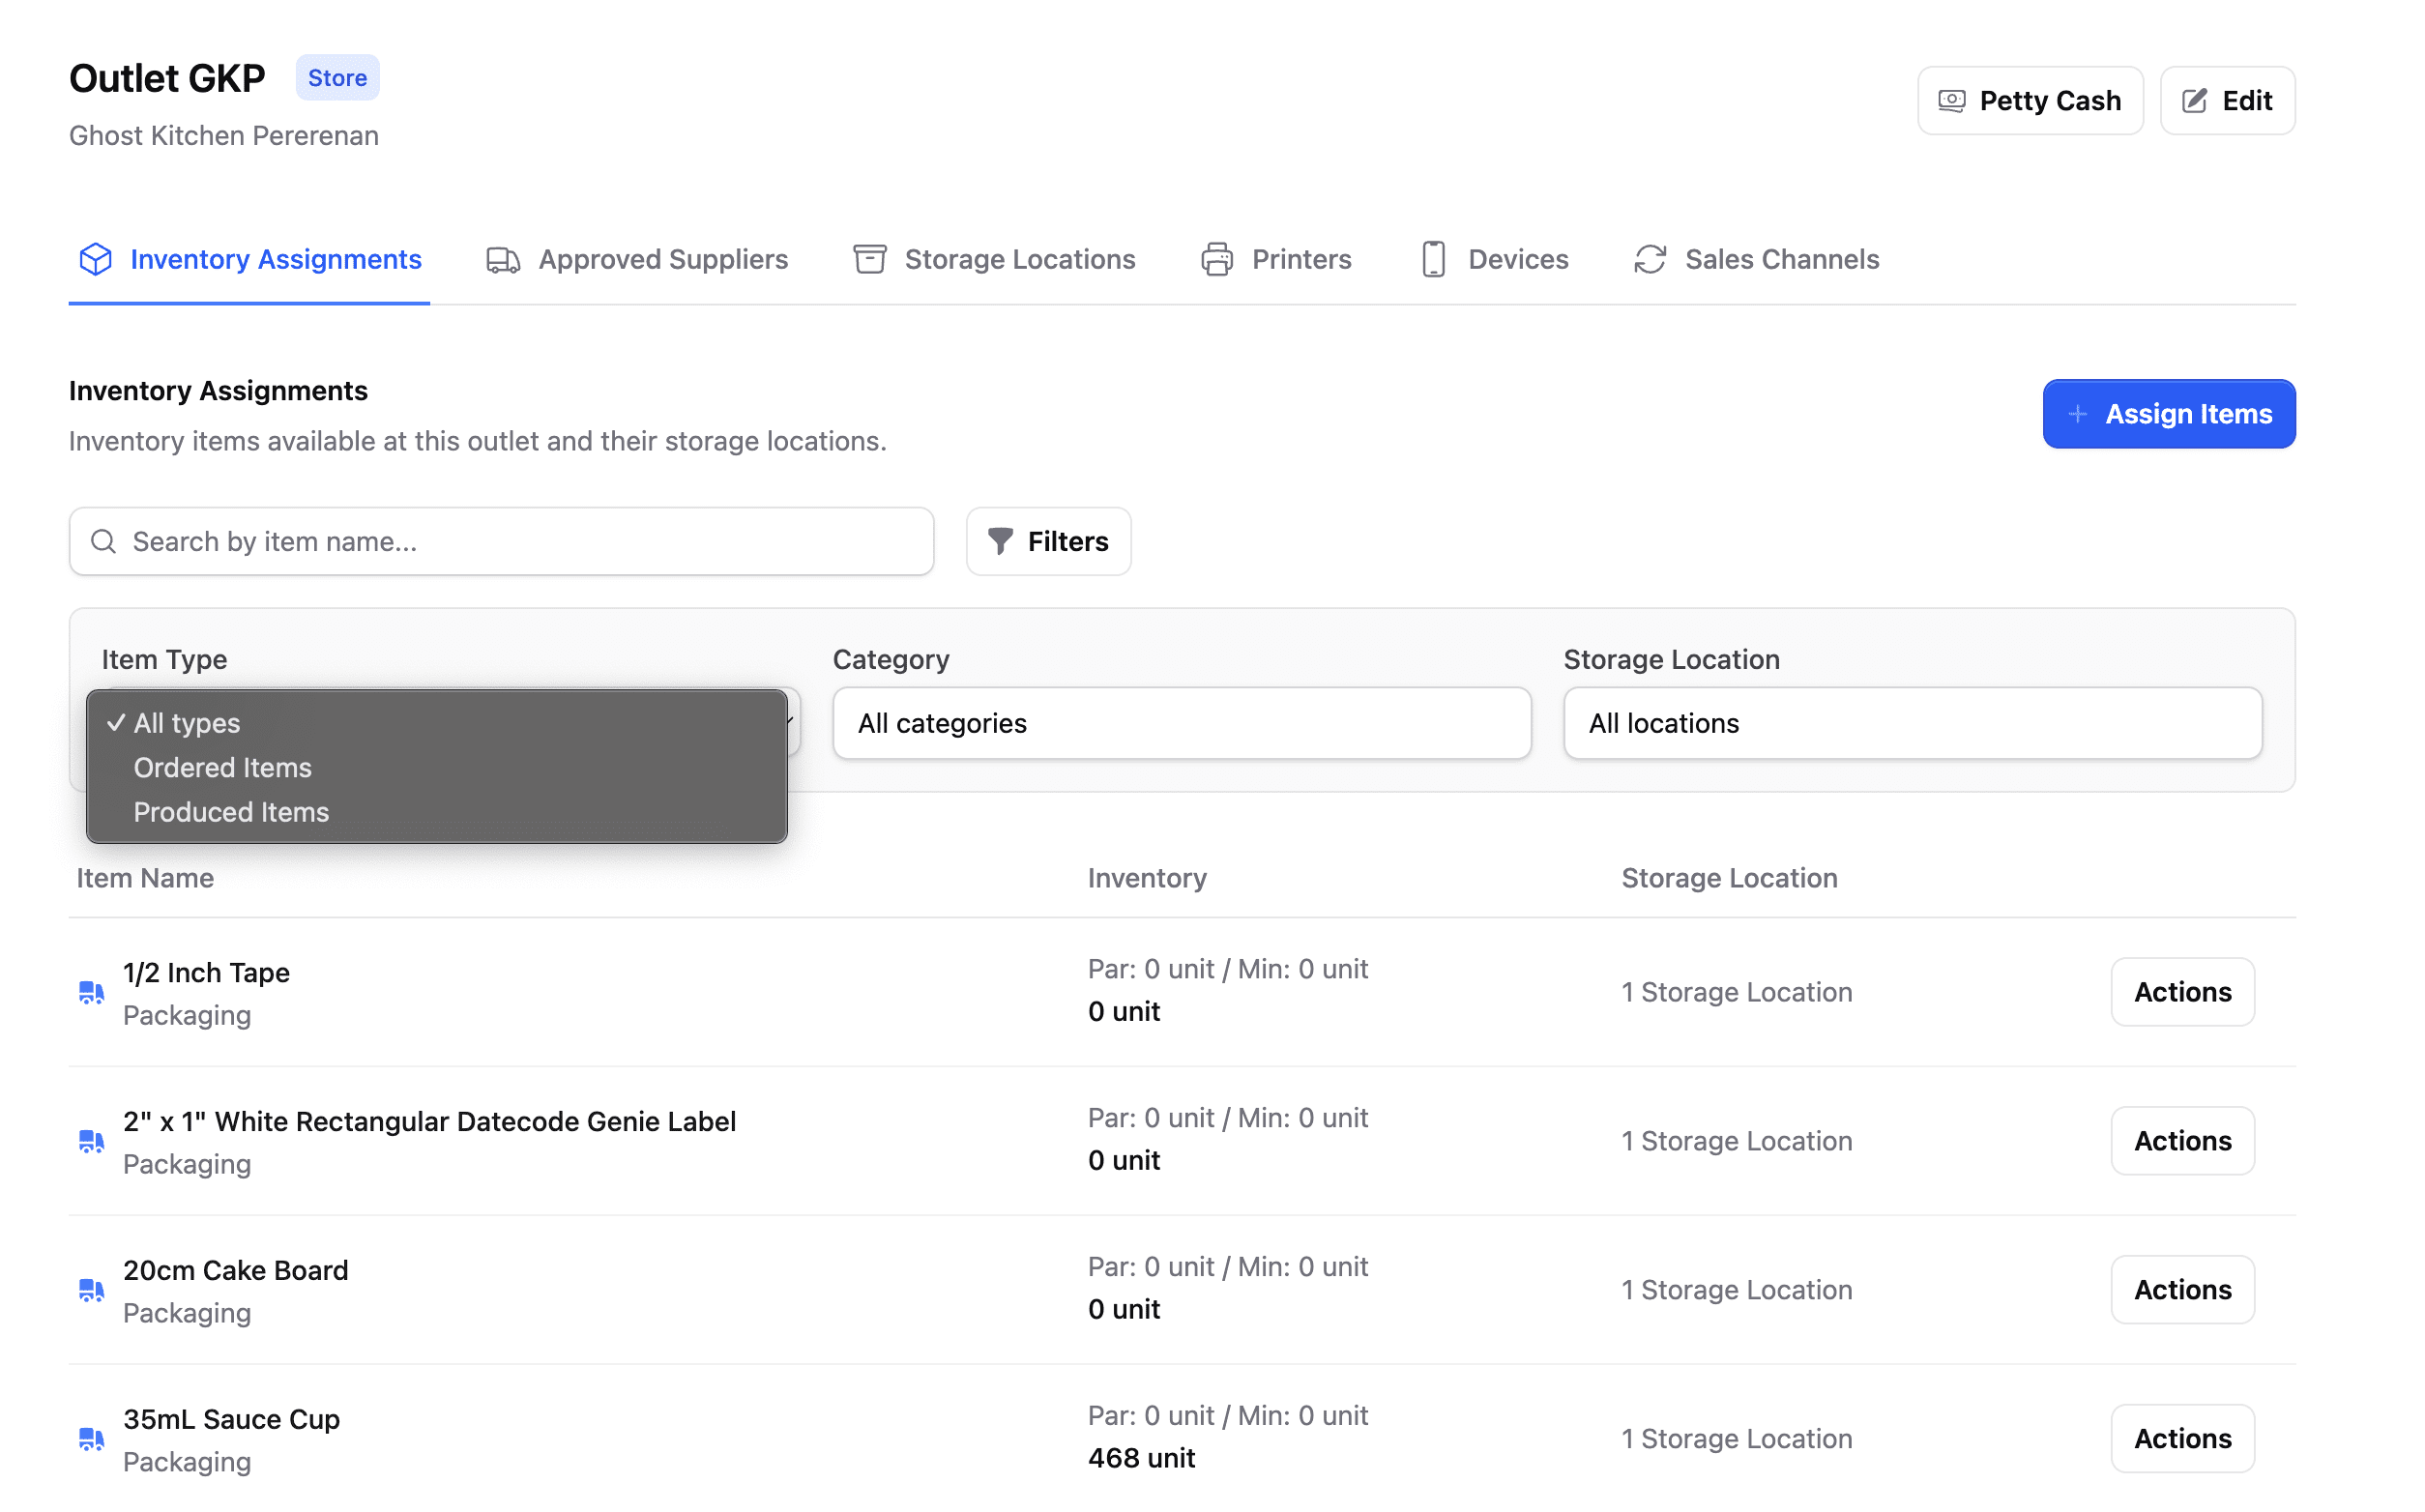
The inventory assignments page shows all items that are linked to your outlet:
| Column | What It Means |
|---|---|
| Item Name | The name of the inventory item |
| Type | Purchased or Produced |
| Unit | How the item is measured (kg, pieces, liters, etc.) |
| Storage Location | Where this item is stored |
| Par Value* | The ideal quantity you want to have on hand |
| Minimum Stock Level* | The level at which you should reorder |
*We will handle setting par values and minimum stock thresholds later, so you can leave these values empty for now.
Clean Up Unused Items
Your outlet may have items assigned that you don't actually use. This is common when:
- Items were discontinued
- Your outlet doesn't carry certain products
- Items were added by mistake
Why Clean Up Matters
Having unused items in your list:
- Makes stock counts take longer
- Creates confusion about what you should have
- Can lead to ordering mistakes
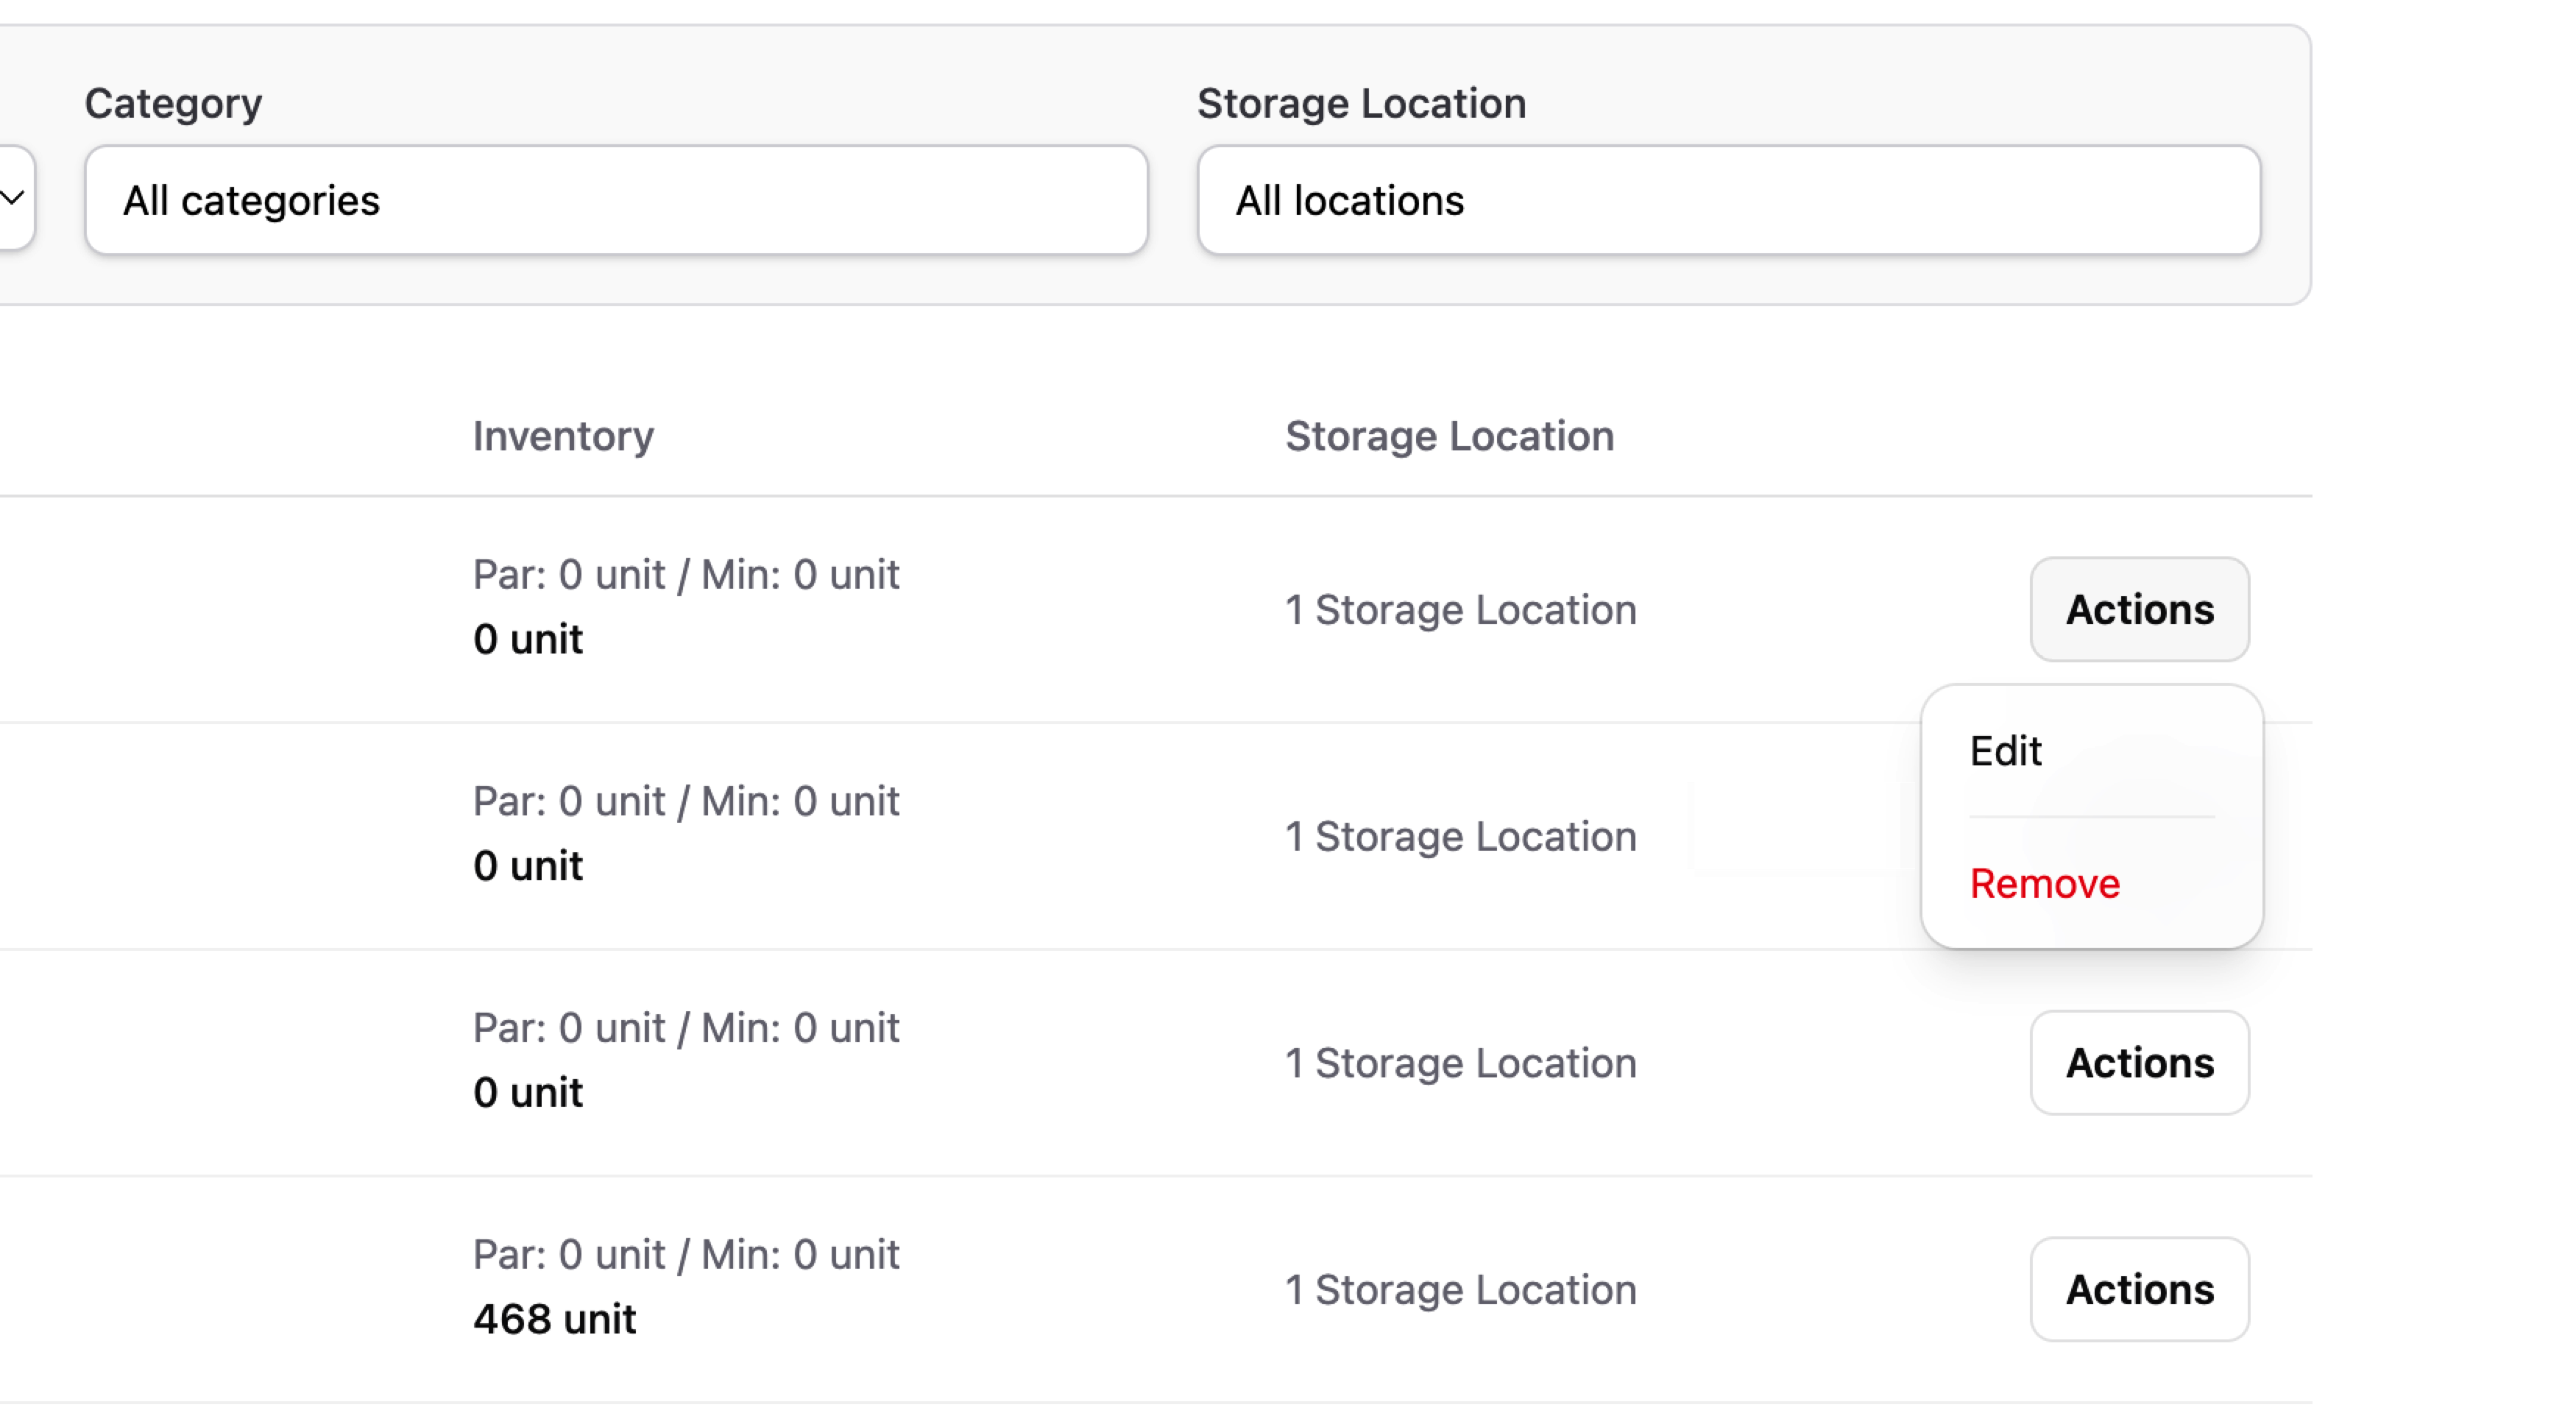
How to Remove Items
- Find the item you don't use
- Click on the item to open its details
- Click "Remove from Outlet" or toggle off the assignment
Be careful! Only remove items you're 100% sure you don't use at this outlet. If you're unsure, leave it for now.
Items to Look For
When reviewing, ask yourself:
- "Do we actually use this item at this outlet?"
- "Have we ordered this item in the last 3 months?"
- "Is this item on any of our current menus?"
Assign Storage Locations
Once you've cleaned up your item list, you need to assign each item to its storage location(s).
Why This Matters
- Organized stock counts — You'll count items by location
- Easy to find items — Everyone knows where things are stored
- Accurate receiving — You know where to put items when they arrive
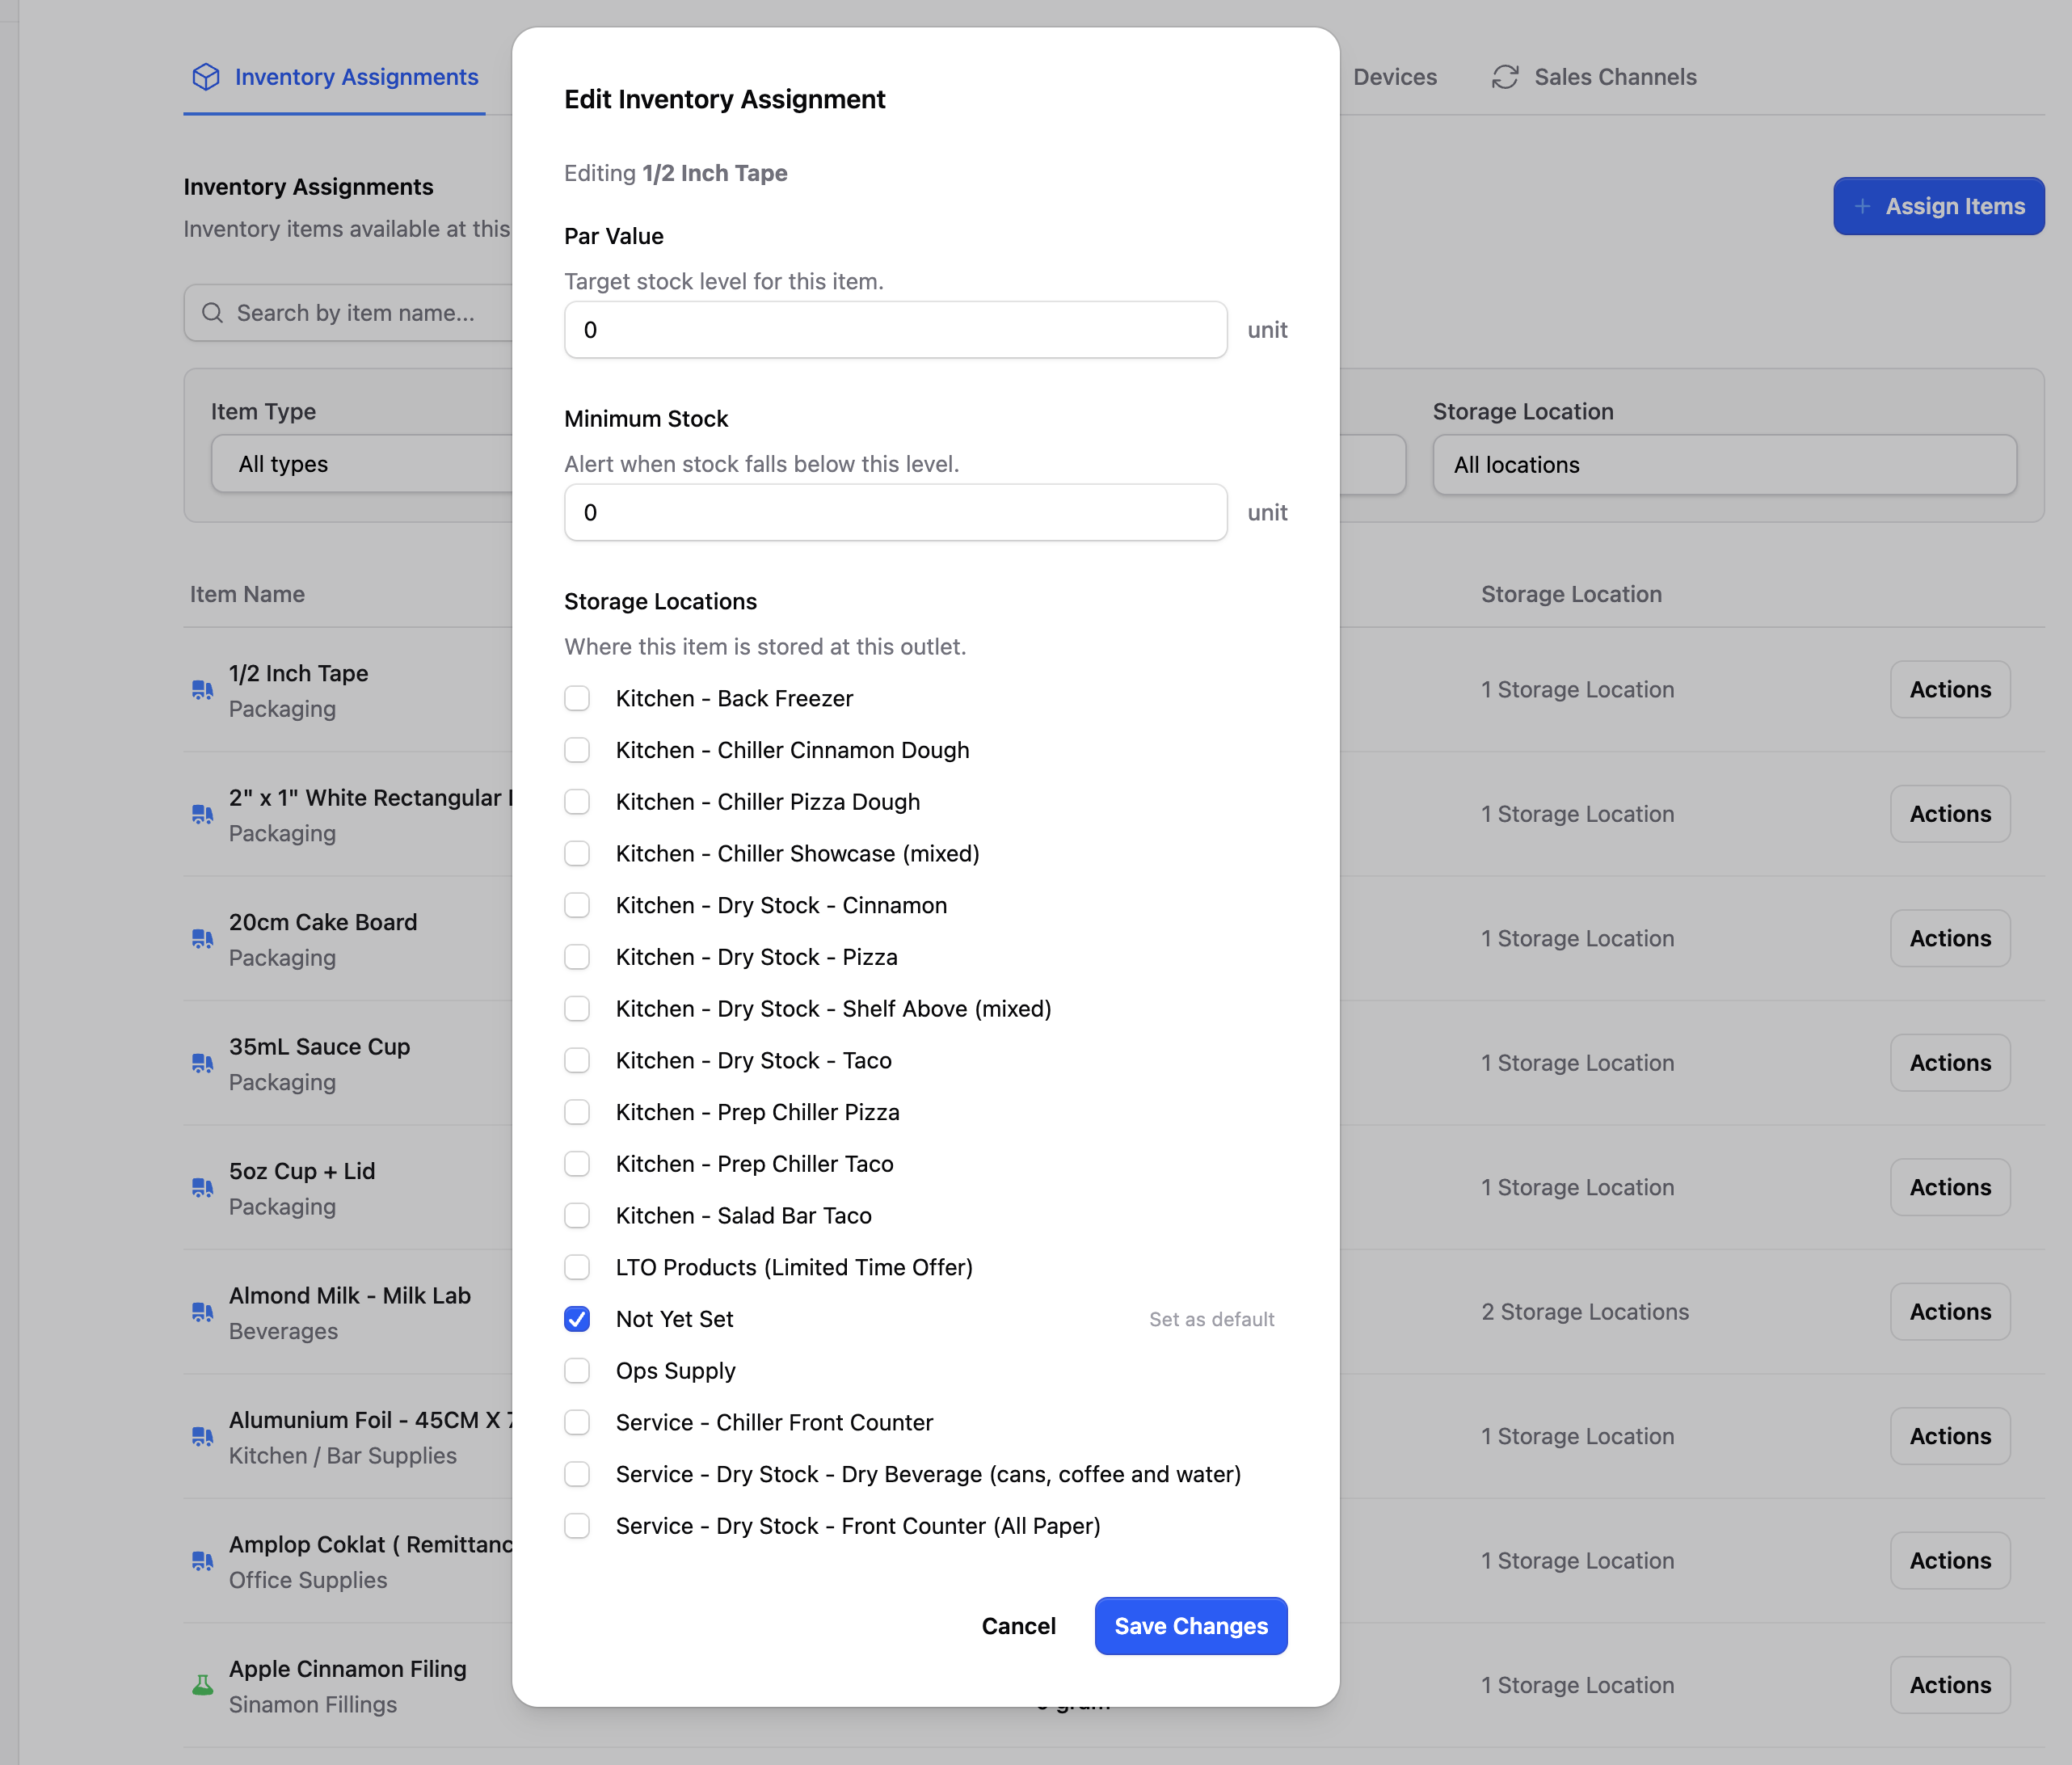
How to Assign Locations
- Click on an inventory item to open its details
- Find the "Storage Locations" section
- Select the location(s) where this item is stored
- Click Save
Items in Multiple Locations
Some items might be stored in more than one place. For example:
- Flour might be in both "Dry Storage" (bulk) and "Prep Station" (daily use)
- Butter might be in "Walk-in Fridge" (backup) and "Prep Fridge" (active use)
That's fine! Assign all the locations where the item is kept.
Tips for Assignment
| Item Type | Typical Location |
|---|---|
| Frozen items | Walk-in Freezer |
| Dairy, meat, produce | Walk-in Refrigerator |
| Flour, sugar, canned goods | Dry Storage |
| Items for daily prep | Prep Station areas |
| Display items | Front of house |
Checklist Before Moving On
Before proceeding to your first stock count, make sure:
- You've reviewed all inventory items assigned to your outlet
- You've removed items you don't use
- Every remaining item has at least one storage location assigned
- You understand what each item is and where it's stored
Take your time with this step. A well-organized inventory list will make everything easier going forward.
What's Next?
With your storage locations and inventory items set up, you're ready for the most important step: your first stock count!