
Setting Up Storage Locations
Storage locations are the physical areas in your outlet where you keep inventory items. Setting these up correctly makes stock counts faster and more organized.
What Are Storage Locations?
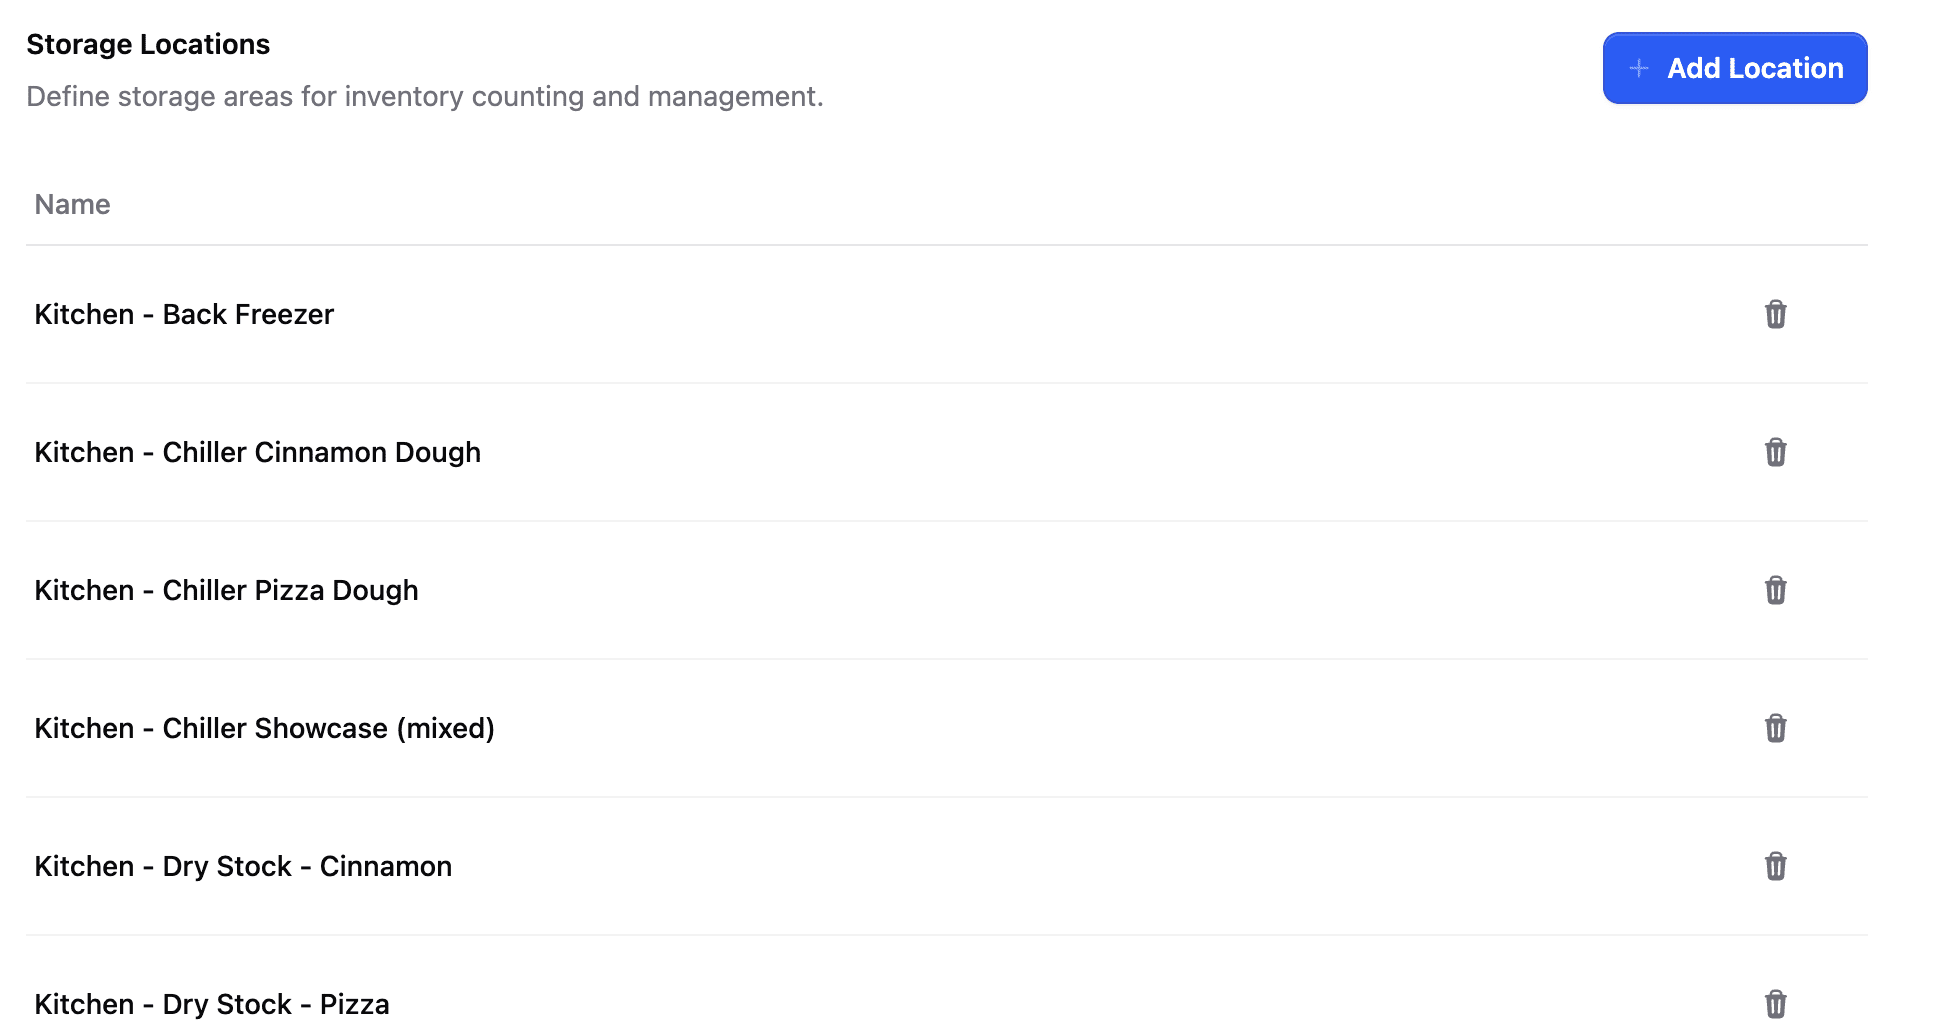
A storage location is any place where you store inventory. Examples include:
- Walk-in freezer — For frozen items
- Walk-in refrigerator — For items that need to be kept cold
- Dry storage room — For shelf-stable items like flour, sugar, canned goods
- Under-counter refrigerator — For items needed at a prep station
- Display case — For items on display
- Back of house shelving — For backup stock
Planning Your Locations
Before adding locations in Butter, walk through your outlet and make a list:
- Start at the entrance and work your way through
- Note every area where you keep inventory
- Be specific enough to be useful, but not so detailed that it's confusing
Good Examples
| Location Name | What's Stored There |
|---|---|
| Walk-in Freezer | Frozen meats, frozen dough, ice cream |
| Dry Storage | Flour, sugar, canned goods, packaging |
| Prep Station Fridge | Items for daily prep |
| Front Display | Items for customer display |
Not Recommended
Avoid being too vague or too specific:
- ❌ "Storage" — Too vague, doesn't help organize
- ❌ "Shelf 3, Row 2" — Too specific, hard to manage
- ✅ "Dry Storage" — Just right
Adding Storage Locations
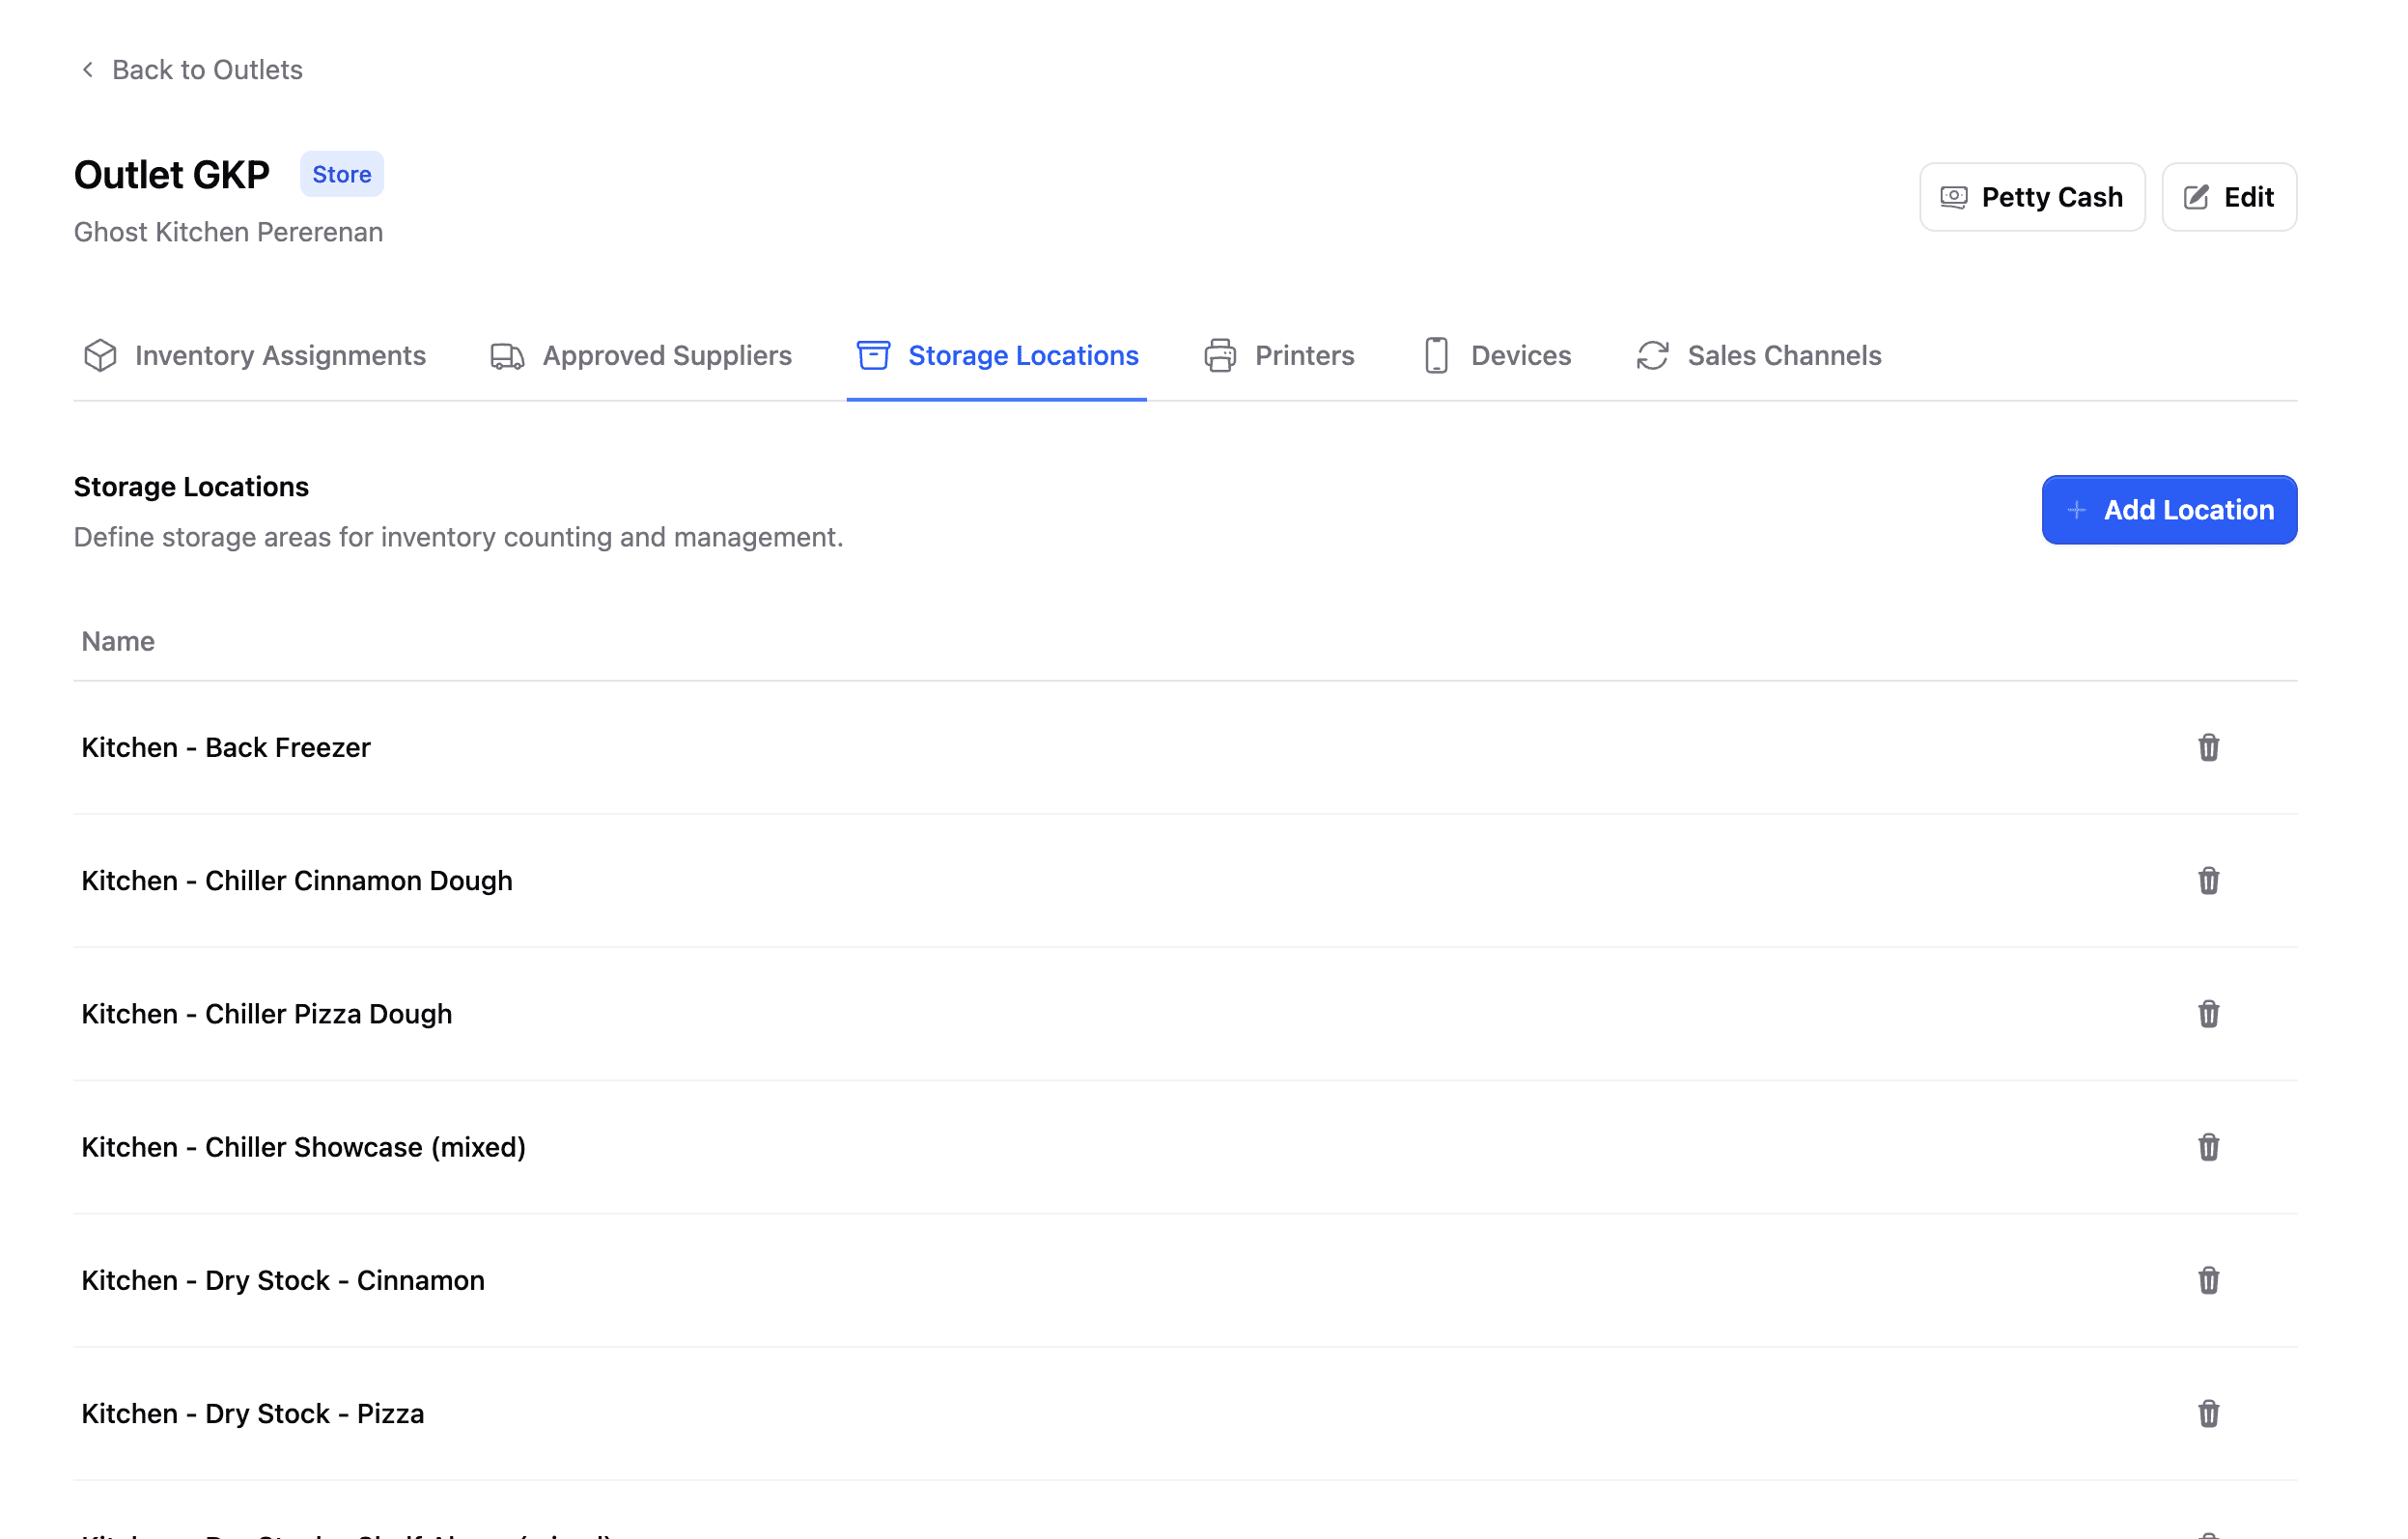
Step 1: Go to Storage Locations
Open the Butter Backoffice Outlets page. Click your outlet from the list, and then select Storage Locations from the menu.
Step 2: Add a New Location
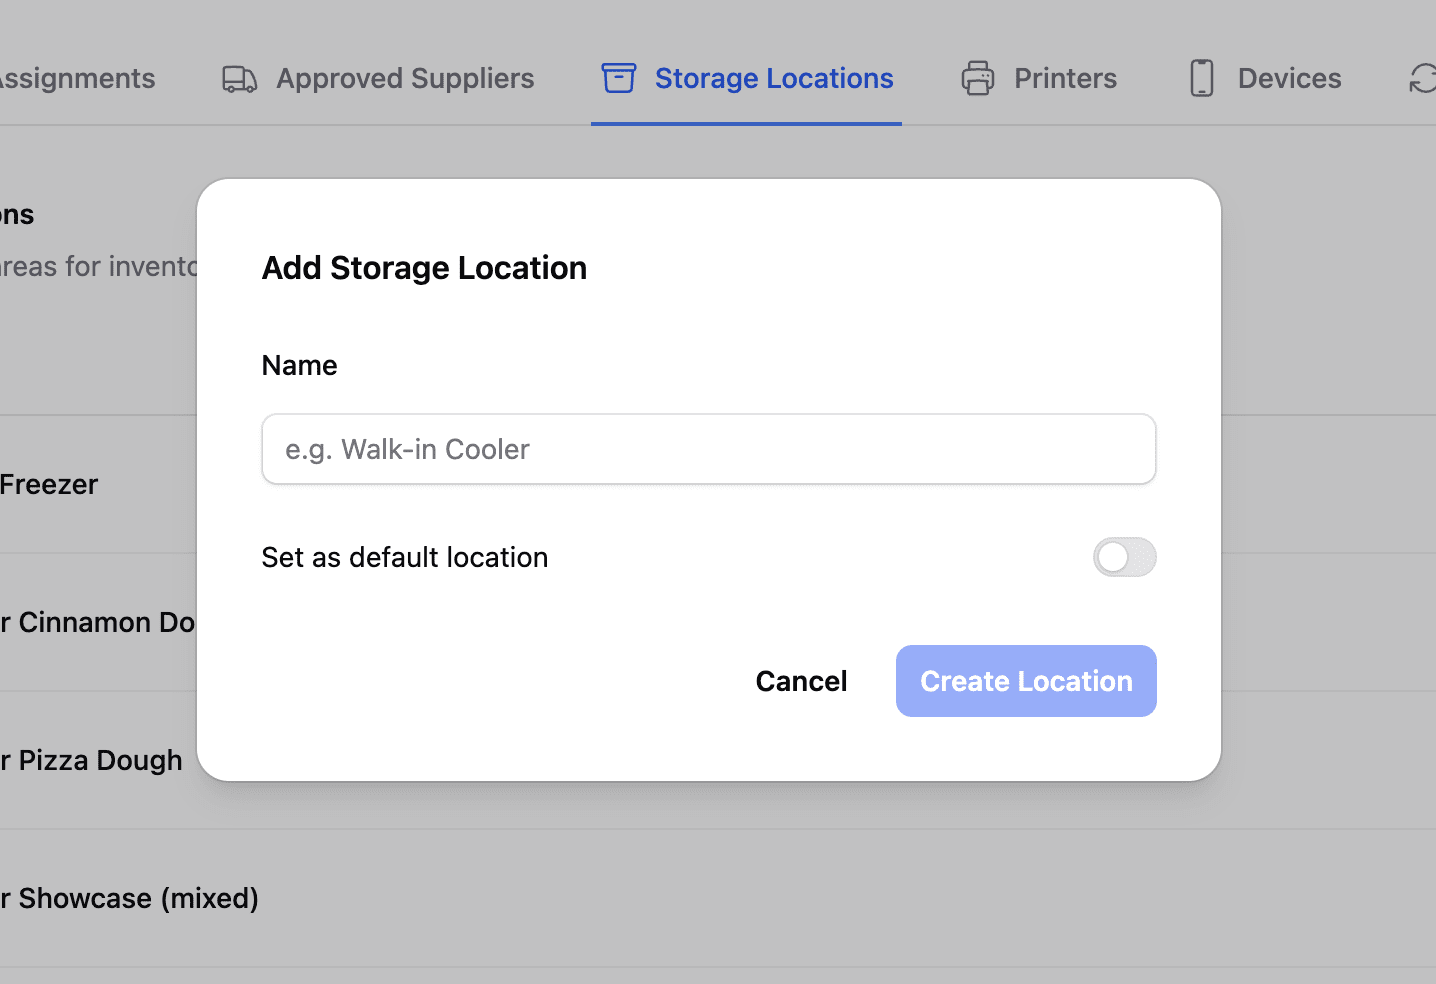
Click the "Add Storage Location" button. Enter a clear, descriptive name for the location (e.g., "Walk-in Freezer") and click Save.
You can also set a location as the Default Location. This is the storage location that will be automatically assigned to any new inventory items added to your outlet. If you add a new inventory item and forget to assign a storage location, it will use the default storage location.
Step 3: View Location Details
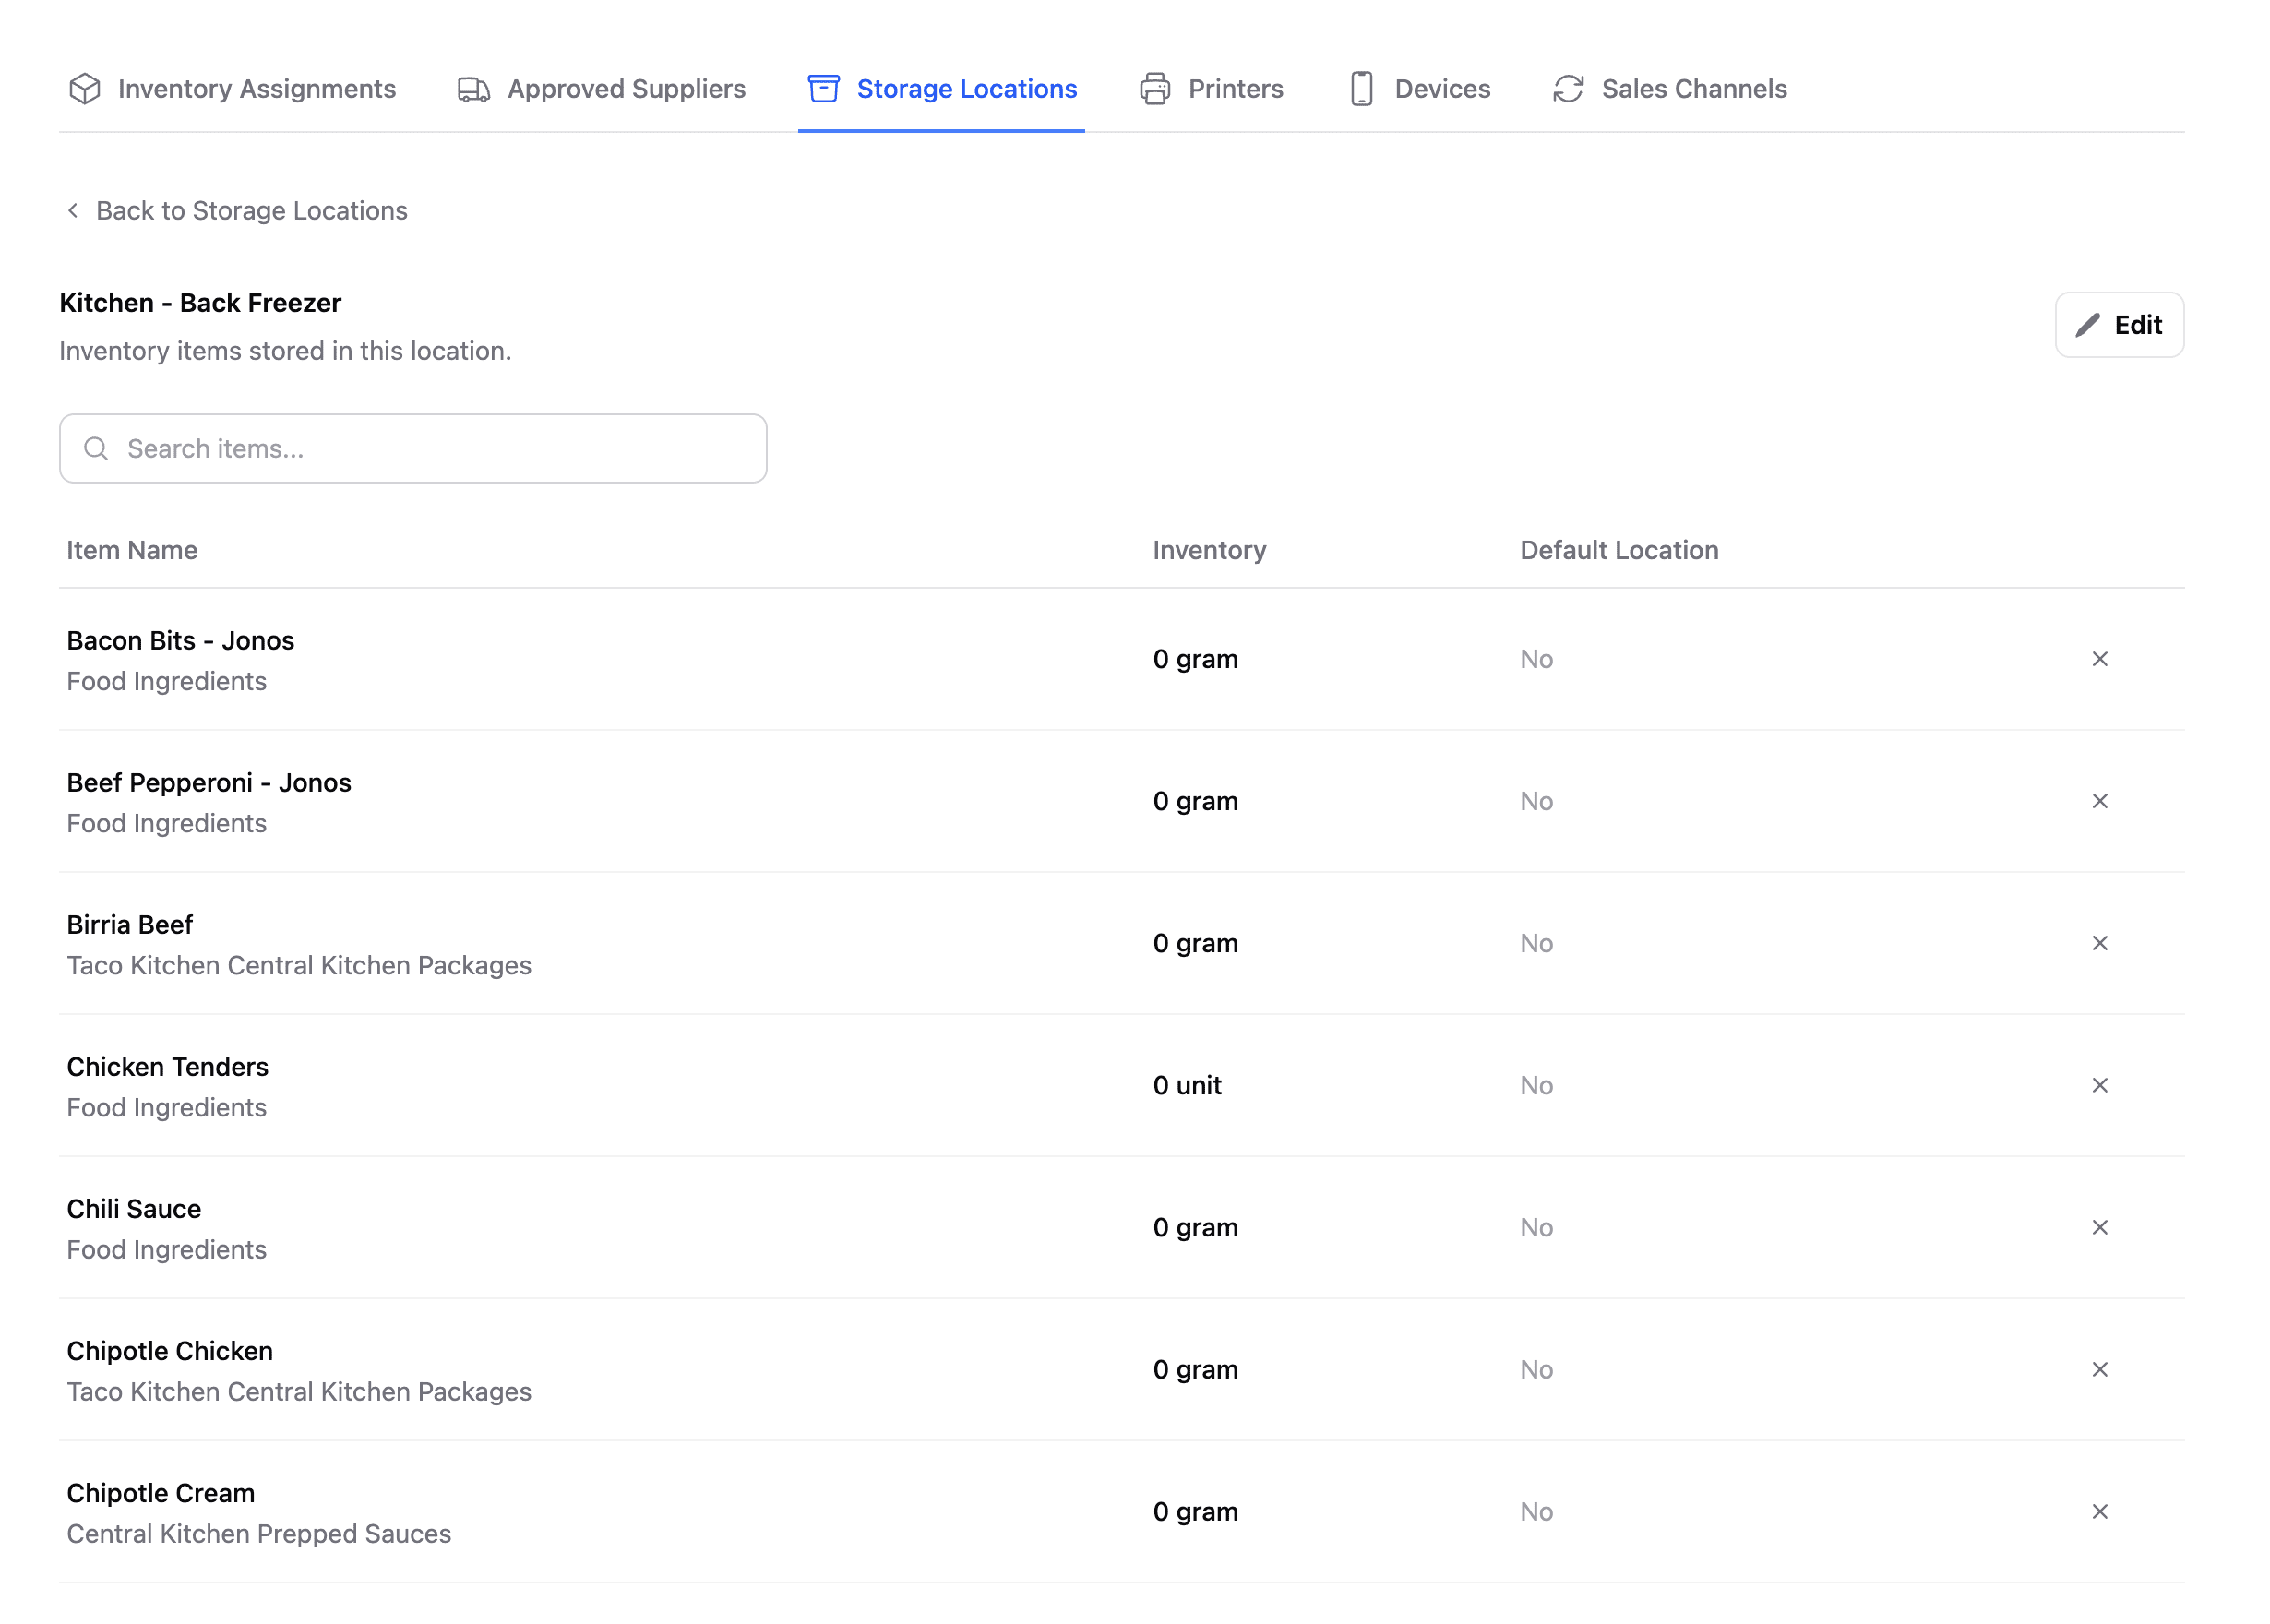
After creating a storage location, you can click on it to see its details page. This page shows all the inventory items that are stored at this location, making it easy to see what belongs where.
Step 4: Repeat
Repeat steps 2-3 for each storage location in your outlet.
Best Practices
Keep It Simple
Start with the main areas. You can always add more specific locations later if needed.
Use Consistent Naming
If you have multiple outlets, use the same naming convention across all of them:
- "Walk-in Freezer" (not "Freezer" in one outlet and "Big Freezer" in another)
Think About Stock Counts
When you do stock counts, you'll count one location at a time. Make sure your locations are:
- Physically distinct — You can clearly see where one ends and another begins
- Reasonable size — Not so big that counting takes forever
Review Regularly
As your outlet changes, update your storage locations. Remove locations you no longer use and add new ones as needed.
What's Next?
Now that your storage locations are set up, it's time to review the inventory items assigned to your outlet.